
Serverless Deployment of Next.js with SST
I’m using a tool called SST to deploy my website to AWS. Read on if you want a lengthy explanation of serverless deployment, or jump to “How to get started with SST” if you just want to know how to use SST to deploy a website using Next.js.
“Serverless” explained
Any website needs hosting. Somewhere there’s a computer connected to the internet that responds to a URL, and sends back the code and resources the website is built from. Your web browser renders this code to show you a website. Simple as that.
The above description is quite valid, but of course this is a gross simplification. If you go a little deeper into the matter you’ll find terms like virtual servers, database servers, content delivery networks, scaling, load balancing, serverless… Wait a minute: Serverless? Seriously?
“Serverless” is a term describing some types of cloud solutions, among them function as a service (FaaS). It’s kind of a misnomer, because you’re still using a server, but it works a little differently from a regular webserver.
With a regular webserver you have a program running on a (virtual) machine. The program is listening for traffic on a port (e.g. port 80) and responds on this traffic. With function as a service you also have program code responding on incoming traffic, but this code isn’t running constantly. The code is running on a runtime (think of it as a light virtual machine) that can be taken down when not in use. The runtime is fast enough to start up, so you hardly notice that it’s been down. So-called “cold start” takes a little longer, but usually we’re talking a few hundredths of a second.
Deployment of Next.js
Next.js, the framework I’m using for this website, is made by a company called Vercel. Vercel has it’s own solution for hosting websites built with Next.js. You write a single command, and the website is built and published to hosting at Vercel. This is very practical and user friendly, and I recommend it for the simplest way of hosting a website running Next.js. They also have a free option for personal use.
What if you want to use Next.js, but don’t want to use Vercel for hosting? The Next.js documentation has a nice overview of alternatives for hosting. For example you can use a regular Node.js server, a Docker container or a static export. Here I’ll talk about SST, the solution I ended up going for.
SST makes serverless deployment simple for noobs
AWS is big and complex, consisting of many different services. There’s an entire jungle to navigate. So I was a little skeptical of running web apps on AWS. And there’s a bit of a learning curve. Still I’ll say that SST makes the job surprisingly simple.
SST is, according to their documentation, “a framework that makes it easy to build modern full-stack applications on your own infrastructure”. You define the application with code using the configuration file sst.config.ts.
SST consists of various components, and they have a component for Next.js. The documentation for Next.js explains how to get started, and the following guide is mainly based on it.
How to get started with SST
First of all you ned to have AWS credentials configured. This is further explained in the documentation for IAM credentials.
If you’re starting a new project, you can create an empty folder, navigate to it in the console and run the following two commands:
npx create-next-app@latest .
npx sst@latest init
If you already have a Next.js project, you’ll only need the last command.
The configuration file sst.config.ts will look like this:
/// <reference path="./.sst/platform/config.d.ts" />

export default $config({
  app(input) {
    return {
      name: 'sst-nextjs-test',
      removal: input?.stage === 'production' ? 'retain' : 'remove',
      protect: ['production'].includes(input?.stage),
      home: 'aws',
    }
  },
  async run() {
    new sst.aws.Nextjs('MyWeb')
  },
})
The configuration is simple and easy to understand, but behind the scenes there’s an advanced solution. When you run sst deploy, various AWS services are created. All permissions are also configured.
For development you can use the dev mode, starting SST and the Next.js app:
npx sst dev
You can configure a custom domain for use in production by adding the domain to the configuration file:
/// <reference path="./.sst/platform/config.d.ts" />

export default $config({
  app(input) {
    return {
      name: 'sst-nextjs-test',
      removal: input?.stage === 'production' ? 'retain' : 'remove',
      protect: ['production'].includes(input?.stage),
      home: 'aws',
    }
  },
  async run() {
    new sst.aws.Nextjs('MyWeb', {
      domain:
        $app.stage === 'production'
          ? {
              name: 'example.com',
              redirects: ['www.example.com'],
            }
          : undefined,
    })
  },
})
If you’re using Amazon Route 53 for setting up your domain, this is all that is needed for automatically creating DNS records for the domain. Custom domains are further explained in the documentation for custom domains.
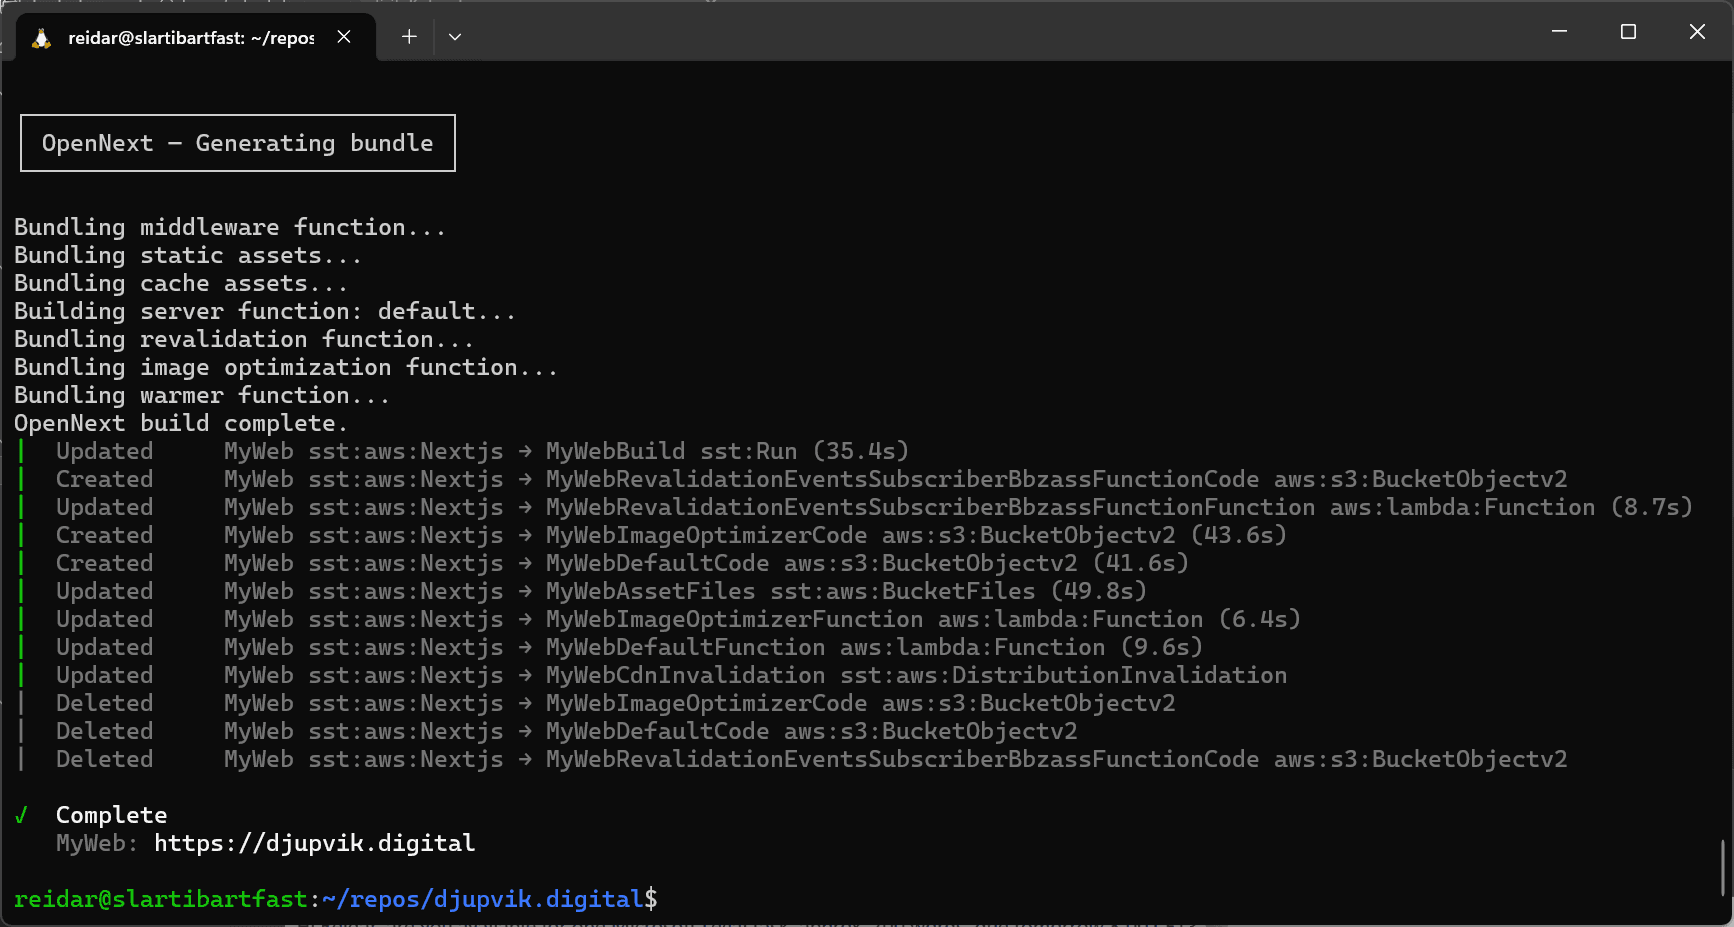
When you’re ready to push to production you run:
npx sst deploy --stage production
You can use the --stage flag for separating various deployments. The name can be anything – here we use the name production for deploying to production.
Final thoughts
I’m very happy about how SST makes it possible to publish a Next.js website directly to AWS without needing to know a lot about the various services running under the hood. The concept of components that can be combined in the configuration makes it easier to build cloud services. I’ll write more about this in the next article.
How about you? Did you get inspired? Do you have feedback? I’d love to hear from you.